
How to Take and Print a Screenshot With Windows 7 Staff Website
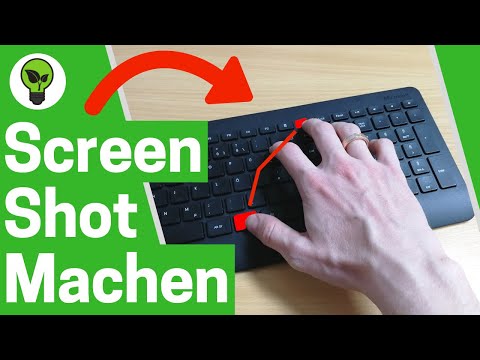
If you only want to take a screenshot of the entire screen of an active window, press the key, key, and all at the same time. This method copies the image to the clipboard, so you will need to use another program such as Paint or MS Word to view, edit, and save the screenshot. Once you open the program, paste the screenshot into the program. In Windows 7, you can also take a screen shot by pressing Alt, Print Screen. You must hold down alt when you press print screen.
- There are several ways of taking a screenshot on Windows 11.
- Once the Intel Graphics Option is all set up use the desktop right-click menu.
- Lastly, if you only want to screenshot just one active window, you can click on the title bar of the window that you want to capture.
How to screenshot a portion of the screen with this program? Snagit is the best screen capture tool you can find. It’s perfect if you need to take a lot of screenshots and want more power and flexibility than built-in options. If you are not good at remembering keyboard shortcuts, simply press the Print Screen Key on the keyboard click this of your Laptop and the entire screen will be copied to Clipboard. Has many options, best one is very easy way to add text or drawings to any screen capture. Different screen captures can also be combined.
How to Map a Network Drive in Windows 11 for All Users
Rotating a monitor screen has several practical uses. Having a “portrait” screen orientation allows viewers to see entire documents at 100% size and view taller web pages without the need to scroll as much. Additionally, rotated screens take up less space on a desk, especially if they are widescreen monitors. You can also rotate your screen right from your desktop. The method will overlap with the first method since you’re also going for the Display settings menu.
It’s recommended that at this stage you unplug and external devices such as flash drives, displays, or drives. ClickNextand follow the onscreen instructions to begin the Windows installation. Click the install now button which appears, this will take you through to the activation screen where you can enter your product key to activate Windows. Once you have changed the boot option to your flash drive, simplysave your BIOS settings and reset the PC. Once selected, choose a language, Windows edition, and the architecture of the system. Click next and select your flash drive from the options available.
The first time you run Windows off the USB drive, you’ll need to go through the familiar Windows setup process. You can then install Windows applications onto the USB drive and access any files or documents stored online, so the experience comes close to working on one of your own Windows PCs. At the next screen, choose the version of Windows that you want to run on the USB drive, then click OK. A warning message flashes that all data on your USB drive will be destroyed. Rufus will now copy the necessary files to the drive. Once the process is complete, close the Rufus window.
How to Multi-Boot a Mac
One way to use the two systems together is to dual boot Windows and Linux. It works well except that you have to switch between the operating systems by restarting the system. On older Macs, when launching your duplicate of Boot Camp, the second wizard screen will have a checkbox titled Install Windows 7. If you see this screen, your Mac is restricted from installing any Windows OS beyond Windows 7 . Navigate to /Applications/Utilities and locate BootCamp.app.
A large number of PC users today use USB drives as bootable media to perform a clean install Windows 10 or earlier versions. While installing from USB is convenient, you might not be able to find one when you want. From here, you can double-click setup.exe to launch the Windows 10 setup. This will replace your current Windows version with Windows 10. All the necessary files from the ISO will be copied to your computer, which will eventually restart to complete the installation.
On the next screen, click the bubble next to “Turn on Network Discovery” to select it. Check the Connect using different credentials option . If you are doing this with a domain account, replace %COMPUTERNAME%\%LoginAccount% with %LoginAccount%@YOUR.DOMAIN. Thanks everyone here.I wrote a bat script for this purpose and it succeed every time.Tested on Win10 & Win7. If you removed or edited the credentials, you are suppose to log out and log back into Windows.
Bir cevap yazın
Yorum yapabilmek için giriş yapmalısınız.